Facebook has 2.271 million users, making it the largest social network in the world and one of the largest databases. Facebook Messenger is their messaging service that can be used by businesses to offer customer service, promote products, and even make direct purchases.
By creating a chatbot for Facebook Messenger you will be able to offer automatic responses, respond in real time to your users, and improve your sales, among many other functions and advantages. It is no coincidence that 300 million bots have been registered to date, and many of them by companies.
The main advantages of maintaining a chatbot on Facebook are:
Chatbots are incredibly useful and cost-effective. Bots can be an amazing product that allows people to create new experiences, from reporting news to delivering information from customer support.
Facebook allows its users to create chatbots for their Facebook pages through their Facebook Developers platform. In this article, I'm going to show you exactly how to do it. The best part? It will take us less than one hour.
Sign up on Facebook Developers and create a new application. You will need a Facebook account so if you do not have it create one.
When creating an application, select the "Something Else" option, and enter the details of your application.

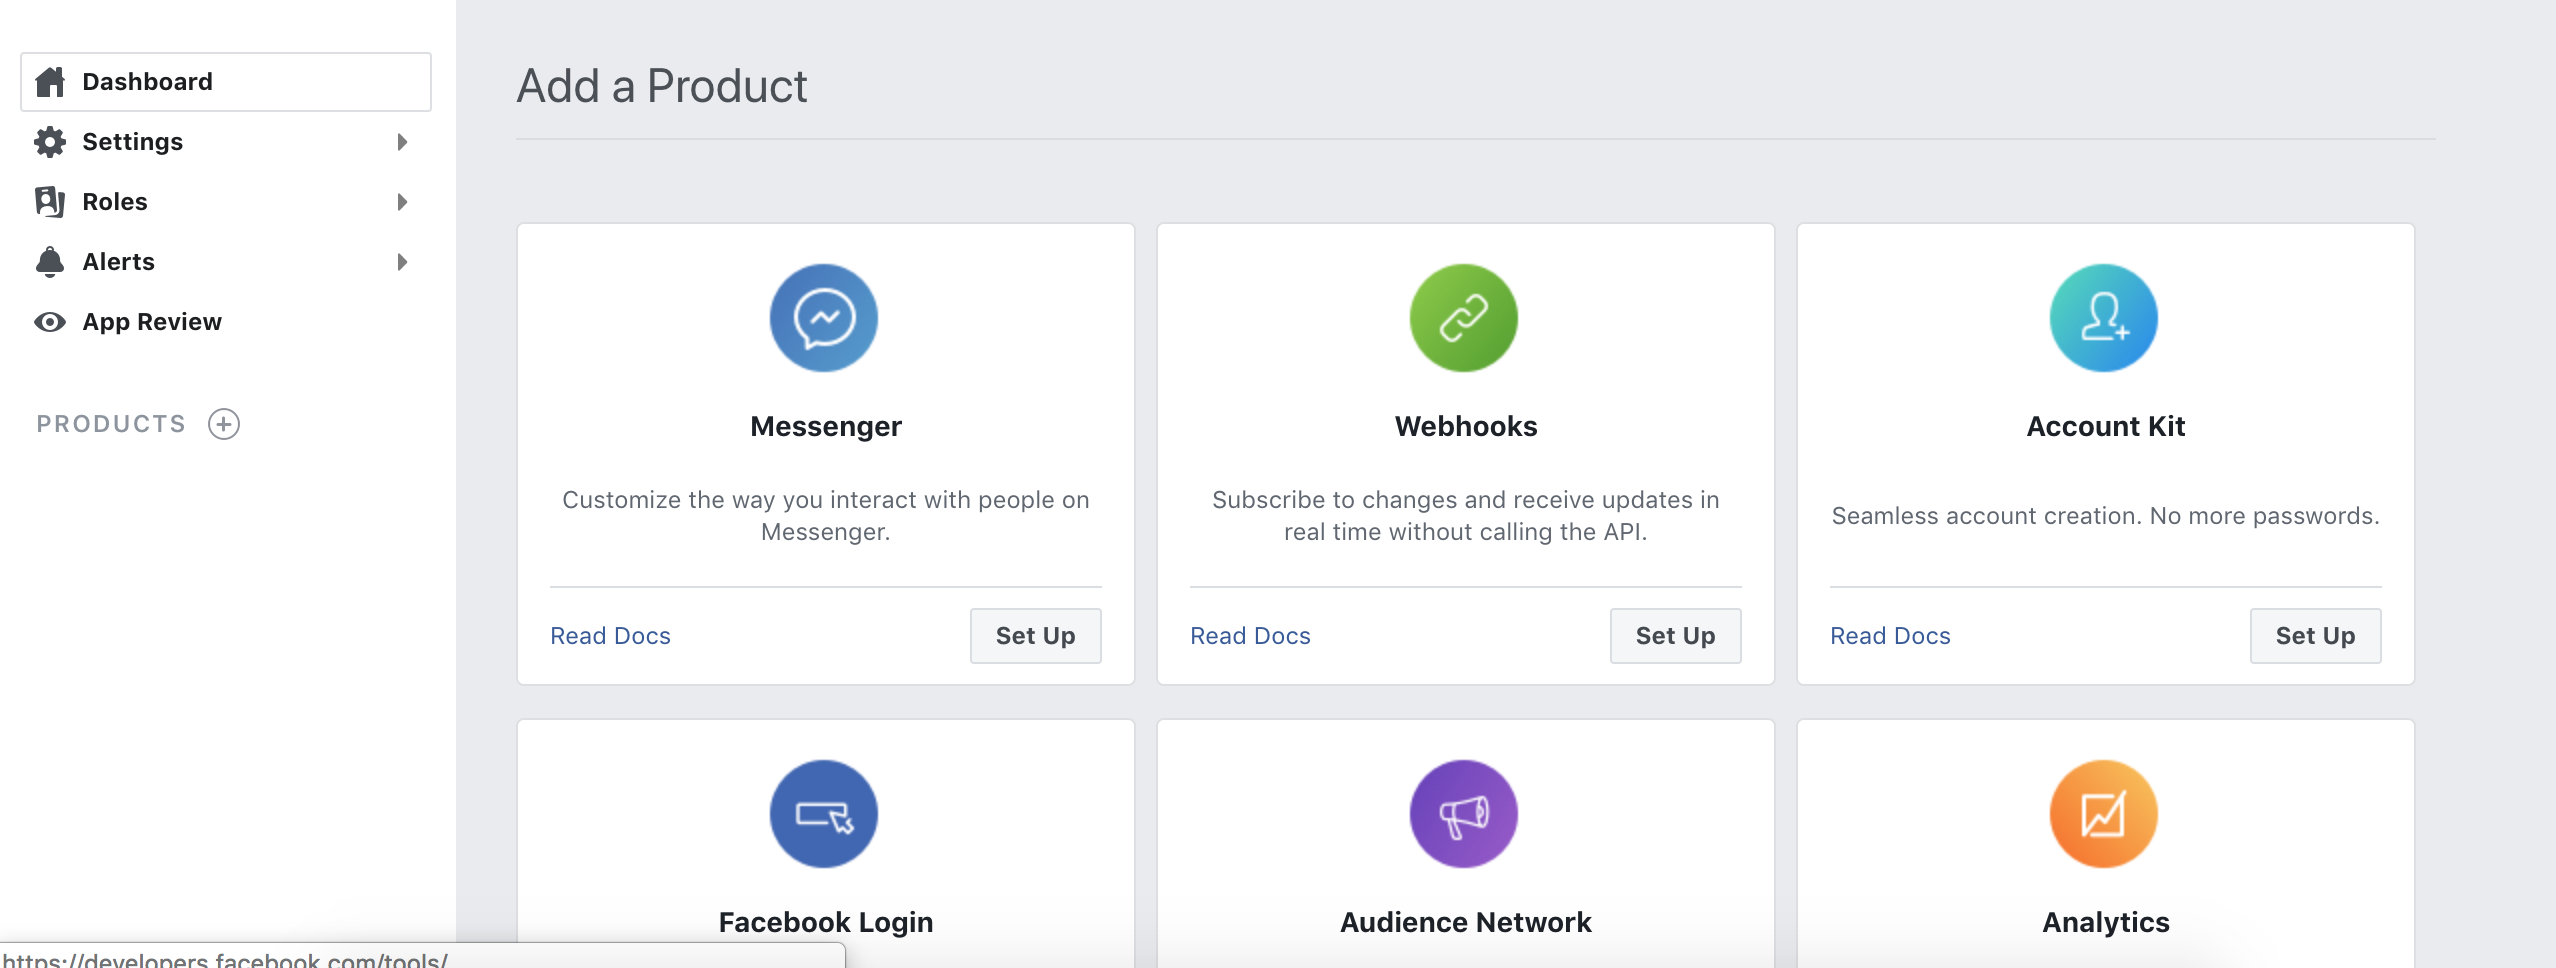
Once the application is created, we will add the Messenger product. Since the chatbot will communicate by this mean it is necessary to make some configurations.
Click on Products on the left bar and then select Messenger.

To enable a chatbot in messenger we will need a token. This token is generated through the application that you created in Facebook Developers, associated with a Facebook page. If you do not have a Facebook page for your service or product, create it.(How to create a facebook page)

The Facebook page is necessary to generate the token and it is where you can test and install your chatbots.
To generate the token go to the Access Token section and link your page to your app. Then click on generate token, then copy the token, we will need it in the next steps.
To complete this step you need to have an active ChatCompose account. You can register here.
Once registered, access your account and click on Install> Integrations. In this section you will find the information to make the connection between ChatCompose and Messenger.
Copy your token generated in step 2 to your Chatcompose panel. You will also need a verifiation phrase, for security reasons and for Facebook to ensure that you have control over the connection.
Enter the Facebook generated token in "ACCESS_TOKEN" and create a security phrase or word in "VERIFY_TOKEN" (choose your own). Save your changes.

In "WEBHOOK URL" you will find the route to your ChatCompose account, you need it to integrate your bot to Messenger.
Back in Facebook Developers, in the webhooks section of your Messenger Product, click on "Configure Webhooks". In the pop-up window we will copy the route of step 3 and the verification phrase.
Enter the route and the "VERIFY_TOKEN" phrase, then press Verify and Save.

A new element should appear bellow Webhooks with the button "Add Subscriptions". Select it.
Now press "Add Subscriptions" and select: "messages", "messaging_postbacks", "message_deliveries" and "messaging_pre_checkouts".

Note: After saving your tokens you will need to set your Facebook Bot to "ON" on the platform. Whenever you want to stop the chatbot just switch it to "OFF". You can find the button on the Install>Facebook section.
Visit your Facebook page and talk with your bot to check that it is working well.
To send messages to the chatbot you will have to add messenger to your page, and include the button Send Message. Send a message (Test Button) to your page to check the responses of your chatbot.
To install a script as the initial for your Facebook chatbot, go to Install>General. Select your initial script and Save your changes.

To test your initial settings, delete any conversations you have with your page, and initiate a new conversation.
You can use the components images, links and downloads to show media.
The html component cannot be loaded. Messenger is not a browser and it cannot render html.
To make the bot public you will need to follow the Facebook guidelines for making an app public. The approval should not take more than 2 days.
After saving your facebook tokens in ChatCompose, a new button will appear (Settings). Press it to set your initial Menu Configuration. Messenger can show a persistent menu where your users can load components or answers (see Persistent Menu).

The menu access buttons allows you to load specific components and scripts. You can use it to show your privacy policy or important tasks for your bot.